In this beginner’s guide, we’ll break down everything you need to know about ISO in photography. We’ll cover the basics of what ISO is, how it affects your photos, and how to use it to your advantage.
If you’re new to photography, you’ve likely heard about ISO. But do you know what it means or how it affects your images? ISO is one of the three pillars of photography, along with aperture and shutter speed. It refers to the sensitivity of your camera’s sensor to light. Understanding ISO is crucial for achieving the perfect exposure in your photos, but it’s also one of the most confusing concepts for beginners.
By the end of this guide, you’ll feel confident in your ability to adjust your camera’s ISO settings and capture stunning images in any lighting situation. So, let’s dive in!
- What is ISO in photography?
- How ISO affects your photos
- The relationship between ISO, aperture, and shutter speed
- Different ISO settings and their effects on image quality
- Understanding noise and grain in photos
- How to choose the right ISO for different lighting situations
- Tips for using ISO to your advantage
- Common mistakes to avoid when adjusting ISO in photography
- Using ISO in photography – creative ways
- Conclusion and final thoughts
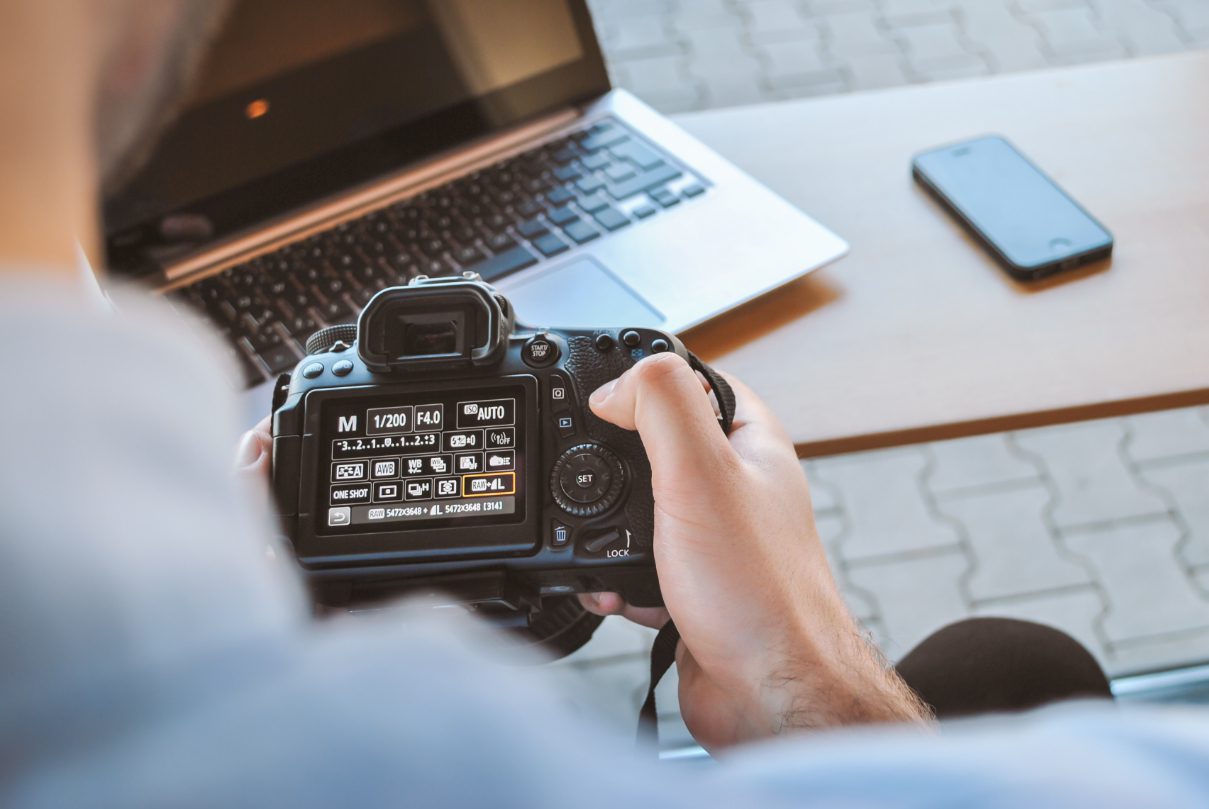
What is ISO in photography?
ISO in photography refers to the sensitivity of your camera’s sensor to light. The higher the ISO, the more sensitive the sensor is to light. This means that you can take photos in low-light situations without having to use a slow shutter speed or wide aperture. However, a high ISO can also introduce noise and grain into your photos, which can reduce the overall image quality.
ISO is measured in numbers, with the lowest value typically being 100 or 200. From there, the numbers double with each increment, so 200 is twice as sensitive as 100, 400 is twice as sensitive as 200, and so on. Some cameras also have extended ISO settings that go beyond the standard range, but these should be used with caution as they can introduce even more noise into your photos.
How ISO affects your photos
The ISO setting you choose can have a big impact on the overall look of your photos. In general, a lower ISO will produce a cleaner, sharper image with less noise and grain. However, a lower ISO also requires more light, which means you may need to use a slower shutter speed or wider aperture to achieve the correct exposure.
On the other hand, a higher ISO can allow you to capture photos in low-light situations without having to use a slow shutter speed or wide aperture. However, a higher ISO can also introduce noise and grain into your photos, which can reduce the overall image quality. The amount of noise and grain introduced will depend on several factors, including the camera model, the lighting conditions, and the ISO setting used.
The relationship between ISO, aperture, and shutter speed
ISO, aperture, and shutter speed are the three pillars of photography, and they all work together to determine the final exposure of your photos. ISO affects the sensitivity of your camera’s sensor to light, while aperture controls the amount of light that enters through the lens, and shutter speed determines how long the sensor is exposed to that light.
When adjusting any of these settings, it’s important to keep the others in mind. For example, if you’re shooting in low-light conditions and need to use a high ISO, you may also need to use a wider aperture or slower shutter speed to achieve the correct exposure. Similarly, if you’re shooting in bright sunlight and want to use a low ISO for a cleaner image, you may need to use a narrower aperture or faster shutter speed to avoid overexposure.
Different ISO settings and their effects on image quality
As mentioned earlier, the ISO setting you choose can have a big impact on the overall look of your photos. Let’s take a closer look at the different ISO settings and their effects on image quality.
Low ISO (100-400): A low ISO will produce a cleaner, sharper image with less noise and grain. This is ideal for situations where there is plenty of light, such as outdoor photography on a sunny day or indoor photography with good lighting.
Medium ISO (800-1600): A medium ISO can be used in situations where there is less light, such as indoor photography with average lighting or outdoor photography during the golden hours. This ISO range can introduce some noise and grain, but it’s usually not too noticeable.
High ISO (3200+): A high ISO is necessary in very low-light situations, such as night photography or indoor photography with poor lighting. However, a high ISO can introduce a lot of noise and grain into your photos, which can reduce the overall image quality.
Understanding noise and grain in photos
As mentioned earlier, a high ISO can introduce noise and grain into your photos. But what exactly is noise and grain, and how does it affect your images?
Noise is the digital equivalent of film grain. It appears as random speckles of color in your photos, and it’s most noticeable in areas of the image that are darker or have less detail. Too much noise can make your photos look grainy and unprofessional, which is why it’s important to use the lowest ISO possible in any given situation.
Grain, on the other hand, is a physical property of film photography. It appears as a texture on the surface of the image, and it’s most noticeable in areas of the image that are darker or have less detail. Grain can add a unique look and feel to your photos, but it’s not always desirable. Some photographers choose to add grain to their images in post-processing to achieve a certain aesthetic, while others prefer a cleaner, sharper look.
How to choose the right ISO for different lighting situations
Choosing the right ISO for different lighting situations can be a bit tricky, but there are a few general rules you can follow. In general, you should always use the lowest ISO possible in any given situation to achieve the cleanest, sharpest image. However, there are times when you may need to use a higher ISO to capture a photo in low-light conditions.
Here are some general guidelines for choosing the right ISO:
Bright sunlight: Use a low ISO (100-200) for the cleanest, sharpest image.
Overcast or shade: Use a medium ISO (400-800) to capture enough light without introducing too much noise.
Indoor lighting: Use a medium to high ISO (800-1600) depending on the lighting conditions. If there is very little light, you may need to use a high ISO (3200+).
Night photography: Use a high ISO (3200+) to capture enough light to see the scene. However, be prepared for some noise and grain in your photos.

Tips for using ISO to your advantage
Now that you know the basics of ISO in photography, here are some tips for using it to your advantage:
Shoot in RAW: Shooting in RAW allows you to adjust the ISO in post-processing without sacrificing image quality.
Use a tripod: If you need to use a slow shutter speed to achieve the correct exposure, use a tripod to avoid camera shake.
Use noise reduction: Many cameras have a noise reduction feature that can help reduce the amount of noise and grain in your photos.
Experiment with different ISO settings: Don’t be afraid to experiment with different ISO settings to see how they affect your photos. This will help you develop a better understanding of ISO and how to use it to your advantage.
Common mistakes to avoid when adjusting ISO in photography
There are some common mistakes that beginners make when adjusting ISO. Here are a few to avoid:
Always using a high ISO: Using a high ISO can be tempting, but it can also introduce a lot of noise and grain into your photos. Use the lowest ISO possible in any given situation to achieve the cleanest, sharpest image.
Forgetting to adjust ISO: It’s easy to forget to adjust your ISO when you’re focused on other settings, but it’s an important part of achieving the correct exposure.
Not checking your photos: Always check your photos after taking them to make sure they’re properly exposed and free of noise and grain.

Using ISO in photography – creative ways
ISO can also be used in creative ways to achieve certain effects in your photos. For example, using a high ISO can create a grainy, vintage look that’s popular in film photography. Similarly, using a low ISO can create a clean, sharp image that’s ideal for landscapes and other detailed shots.
Experimenting with different ISO settings can also help you achieve a certain mood or atmosphere in your photos. For example, using a high ISO to capture a dark, moody scene can create a sense of drama and tension.
Conclusion and final thoughts
ISO is an essential part of photography, and understanding how it affects your photos is crucial for achieving the perfect exposure. By using the lowest ISO possible in any given situation, avoiding common mistakes, and experimenting with different settings, you can capture stunning images in any lighting situation. So, the next time you’re out shooting, don’t be afraid to adjust your ISO and see how it affects your photos. Happy shooting!